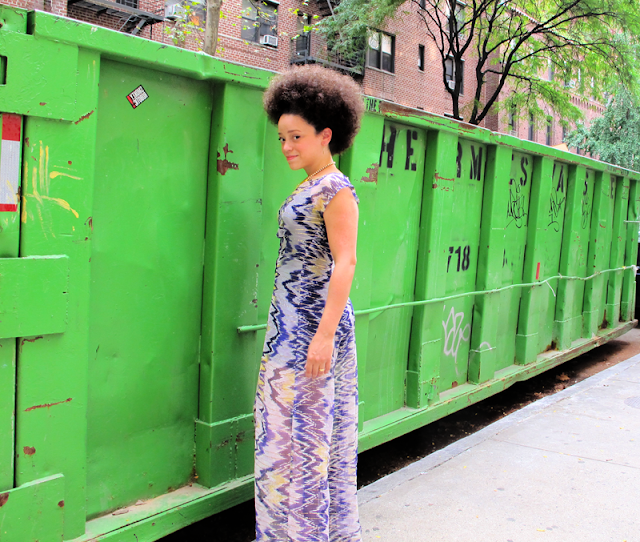
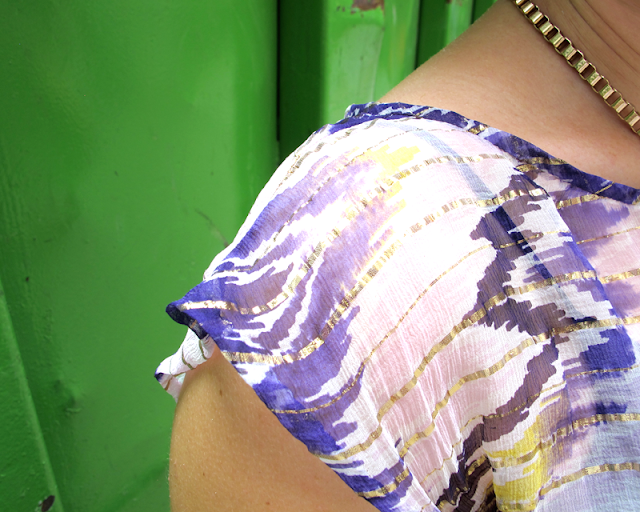
ARGH THIS DRESS TOOK FOREVER! i seam ripped so long, my arms went all ghostie! at one point, i told ruggy this might be the longest i've ever spent on a dress. really, i'm not sure, because it was started in texas and finished in new york...travel plays tricks on the mind...
i ordered this delicious denim & velvet flocked yardage from mood fabrics back in late july, as part of my MSN allowance. it seemed totally appropriate for the middle of texas summer. that's sarcasm. the fabric is amazing, it has a bit of stretch to it, and the velvet looks almost CGIed. it was meant for a maxi dress, but then my eyes fell on butterick retro 5880, and for once my heart strayed from the land of floor length.
hello legs. isn't it odd that we want to drape our bottom halves in yards of fabric in summer, and expose them when a chill hits the air? i even took about 6 inches off altogether. our super stumbled upon us mid photo shoot and said woooow, i like. don't you have black shoes? you need longer earrings. have a white flower at your waist. i think it should be shorter.
i do think i'll be taking that flower suggestion, but more billie holiday than floral belt. wouldn't a magnolia look amazing with this outfit? OH HEY BY THE WAY. can i give a big ups to you vintage ladies out there? it took me like 30 minutes to tame my hair, till i finally cried uncle and called it DID.
i love the cutouts on this...they remind me of the neckline of the blue basement dress (which i have yet to finish).
the weight of the denim was perfect for the angular neckline, in a maxi it would have sat stiffly. but that said, it did have plenty of flow for the draped section! real talk, this fabric is made of magic.
per ruggy's suggestion, i "lined" the edge of the drape-- the pattern calls for it to be fully lined in fashion fabric, but that would have been One. Heavy. Drape. i was leaning towards leaving the raw edge exposed, but he thought a little trim would finish the dress off. he was right. so many opinionated men in my life!!!
after thirty minutes of fondling trim in daytona (heheh) i chose three yards of tiny chain link to sandwich the edge of the drape, and hand stitched it down on either side. you might have caught me toiling away in metal and thread on my instagram.
after thirty minutes of fondling trim in daytona (heheh) i chose three yards of tiny chain link to sandwich the edge of the drape, and hand stitched it down on either side. you might have caught me toiling away in metal and thread on my instagram.
and now, i present to you the guts. HA! IT'S A CIRCUS SHOW UP IN THERE!!! this printed cotton was meant for the back bodice of the previously intended maxi dress. sort of a surprise when you turn around. now it's a surprise when you take it off.
NO ONE LIKES STRANGE SURPRISES WHEN TAKING SOMETHING OFF.
maybe i'll just keep the lights dimmed when unzipping.
now here's the thing, i didn't do much unzipping, per se, of this jammie in texas. but back with my man in NY, with the prospect of date nights quite real, did i want it to fit or did i want it to fit? this was a mantra i repeated to myself every time i went back to the full length mirror and did the yoga zipper pose.
speaking of new mantras, howsa bout a new little section at the end of these garment posts? i know i tend to talk about everything but the sewing of the damn thing, so i thought it would be nice to share that with you sewists out there, whilst giving my non stitching pals the opportunity to jump over the foreign language.
the notes:
sizing: i cut a straight size 12, shortening the pattern at both petite lines 1 inch. lopped 7 inhes off the pattern hem in the end, with a 1 inch hem allowance. currently, i'm 35 1/2 - 28 1/2 - 39.
fabric: flocked denim & printed cotton from mood fabrics
notions: tiny chain link from daytona trimming, stash zipper
cocktails: southern gin & tonics followed by northern manhattans, garnished with ruggy's homemade soaked cherries
time: FOREVER.
pattern tips:
- to get those Vs sharp, i shortened the stitch length to teeny tiny on the points of the Vs, making it safer to cut as close as i could to the stitching line, and i understitched the lining as far as i could, everywhere i could.
- if you need to shorten/lengthen the skirt, you'll need to do that on the drape as well...mais, there is no corresponding shorten/lengthen line on the drape. BASTARDS. i traced the drape out, matched drape notches up to the notches on the skirt, and added the line. unfortunately, that line went right smack dab through the complicated pleat section. so i traced out the pleats separately, and placed that tracing under the shortened drape, matching up with the top pleat and drawing them in from there. you'll also have to take away from the bottom curve of the drape (or add to it, if you're lengthening). it's a bit scary. a manhattan helps, if you're of age.
- want your skirt as pegged as mine? you won't get it straight out of the envelope. i started by pegging the side seams 3 inches in and tapering 5 inches up, then pegged the three back seams a bit. rinse, rip, repeat, till you have it right. i tacked the drape down just below the hip, and when i couldn't bear to rip out the skirt seams AGAIN, i added two small darts at front skirt hem. i don't think i've ever heard of darts at the hem before, but those final cinches did the trick.


